We use cookies to make your experience better. To comply with the new e-Privacy directive, we need to ask for your consent to set the cookies.
Steps to Add Custom Fields in Magento 2 Shipping Address Form

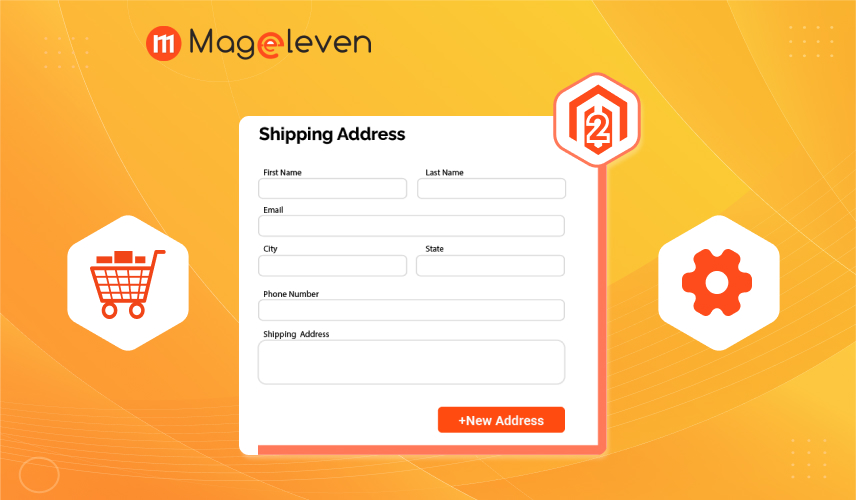
Magento 2 checkout shipping address form customization is an essential step in making the ordering path smooth and easy. The default checkout form cannot meet every business need or customer preference. As a result of customization, you will be able to reduce the time it takes a customer to checkout, reduce the number of cart abandonments, and ensure that customers provide valid and relevant information about shipping.
For example, you may want to add fields like custom delivery instructions, remove extra fields to streamline the form, or change its layout to suit your store's branding. This will make a big difference in improving the shopping experience and increasing conversions.
Whether you're trying to cater to certain customer demographics, optimize for mobile users, or integrate third-party shipping services, personalizing the checkout shipping address form in Magento 2 will give your store an edge and better meet customer expectations. The default checkout in Magento 2 is already efficient, but if customized, you can make it even more friendly to your customers. By customizing the checkout shipping address form, you can:
- Make Checkout Faster: Simplify the process by keeping only the necessary fields.
- Meet Legal Requirements: Add fields needed to meet local laws or regulations.
- Gather Additional Details: Include options for delivery instructions or alternative contact information.
- Align with Your Branding: Customize the design to fit your store's unique style.
It's a fact that personalization of the checkout form will improve customer satisfaction, while it will also reduce cart abandonment and boost sales. Here, customers can have a smooth and friendly checkout, which will also keep them coming back for more.
Key Magento 2 Shipping Address Form Customizations
The Magento 2 shipping address form is very often customized to make it more user-friendly, to suit specific needs, and enhance the shopping experience in general. Here are some popular customizations that can make a great difference:
1. Adding New Fields
Sometimes, the default form just doesn't hold all the needed information. Adding custom fields like "Apartment Number," "Delivery Instructions," or "Landmark" allows customers to provide more complete shipping information and therefore reduces errors and troubles with delivery to a minimum.
2. Reordering Fields
The order in which these fields are presented does matter in terms of usability. For example, a reordering where "City" precedes "State/Province" would be much more intuitive for customers in certain regions.
3. Removing Unnecessary Fields
The presence of fields like "Fax" or other options which are not applicable can mess things up during the checkout process. Without them, the form will be simpler and the customer will check out faster.
4. Setting Field Validation Rules
You can set up custom validation rules to ensure the accuracy of customer data. For example, you can have phone numbers in a certain format or validate the postal code according to regions. This reduces errors and avoids issues during order processing.
5. Conditional Fields
Conditional fields can make a form dynamic. For example, you could show the "State/Province" field only if certain countries are selected. This can be a big win for usability and reduce clutter.
6. Custom Field Integration
Additional form fields that will directly integrate with the third-party shipping providers or internal systems can automatically perform tasks related to order tracking or shipping calculations.
7. Styling and Layout Changes
By customizing the layout and styling of the form, it will be assured that this is, in fact, how your website's design will look. You are able to change colors, fonts, and spacing by using CSS to make the checkout experience consistent and appealing.
Magento 2 checkout shipping address form customization not only improves the look and usability of the checkout but also meets specific business and customer needs. A customized form can result in higher customer satisfaction, fewer errors, and improved conversions.
How to Customize Shipping Address Template in 7 Steps with Code
Follow these steps to customize the Magento 2 shipping address template:
1. Create a Custom Module
Begin by creating a custom module. For instance, Mageleven_ShippingCustomization: (Mageleven replace with Mageleven)
File Structure:
app/code/Mageleven/ShippingCustomization
- app/code/Mageleven/ShippingCustomization/etc/module.xml
- app/code/Mageleven/ShippingCustomization/registration.php
// app/code/Mageleven/ShippingCustomization/etc/module.xml

<?xml version="1.0"?>
<config xmlns:xsi="http://www.w3.org/2001/XMLSchema-instance”
xsi:noNamespaceSchemaLocation="urn:magento:framework:Module/etc/module.xsd">
<module name="Mageleven_ShippingCustomization" setup_version="1.0.0" />
</config>// app/code/Mageleven/ShippingCustomization/registration.php
<?php
\Magento\Framework\Component\ComponentRegistrar::register(
\Magento\Framework\Component\ComponentRegistrar::MODULE,
'Mageleven_ShippingCustomization',
__DIR__
); 2. Override Checkout Layout
Customize the layout by overriding checkout_index_index.xml:
// app/code/Mageleven/ShippingCustomization/view/frontend/layout/checkout_index_index.xml

<?xml version="1.0"?>
<page xmlns:xsi="http://www.w3.org/2001/XMLSchema-instance" xsi:noNamespaceSchemaLocation="urn:magento:framework:View/Layout/etc/page_configuration.xsd">
    <body>
        <referenceBlock name="checkout.root">
            <arguments>
                <argument name="jsLayout" xsi:type="array">
                    <item name="components" xsi:type="array">
                        <item name="checkout" xsi:type="array">
                            <item name="children" xsi:type="array">
                                <item name="steps" xsi:type="array">
                                    <item name="children" xsi:type="array">
                                        <item name="shipping-step" xsi:type="array">
                                            <item name="children" xsi:type="array">
                                                <item name="shippingAddress" xsi:type="array">
                                                    <item name="children" xsi:type="array">
                                                        <item name="custom_field" xsi:type="array">
                                                            <item name="component" xsi:type="string">Magento_Ui/js/form/element/abstract</item>
                                                            <item name="label" xsi:type="string">Custom Field</item>
                                                            <item name="dataScope" xsi:type="string">shippingAddress.custom_field</item>
                                                            <item name="provider" xsi:type="string">checkoutProvider</item>
                                                            <item name="visible" xsi:type="boolean">true</item>
                                                            <item name="validation" xsi:type="array">
                                                                <item name="required-entry" xsi:type="boolean">true</item>
                                                            </item>
                                                        </item>
                                                    </item>
                                                </item>
                                            </item>
                                        </item>
                                    </item>
                                </item>
                            </item>
                        </item>
                    </item>
                </argument>
            </arguments>
        </referenceBlock>
    </body>
</page>
3. Update the Shipping Template
// app/code/Mageleven/ShippingCustomization/view/frontend/web/template/shipping-address/address-renderer/default.html

<div class="field">
<label for="custom_field" class="label">
<span data-bind="text: $t('Custom Field')"></span>
</label>
 <input type="text" id="custom_field" class="input-text" data-bind="value: custom_field" />
</div>
4. Define Custom JavaScript
Add JavaScript logic for dynamic behavior:
// app/code/Mageleven/ShippingCutomization/view/frontend/web/js//view/shipping-address.js

define([
'uiComponent'
], function (component) {
  return component extend({
initialize:function(){
     this._super();
}
});
});
5. Add Custom Field to Database
Ensure your custom field is stored in the database. Create an observer to save data into the quote and order tables.
<?phpFramework\Event\Observer $observer)
namespace Mageleven\ShippingCustomization\Observer;
use Magento\Framework\Event\ObserverInterface,
Class SaveCustomFieldToQuote implements ObserverInterface
{
public function execute(\Magento\
{
$quote = $observer->getEvent()->getQuote();
$customField = $observer->getEvent()->getRequest()->getParam('custom_field');
$quote->setData('custom_field', $customField);
}
}
6. Test the Customization
Clear the cache and test the changes on the checkout page:
php bin/magento cache:clean
php bin/magento setup:upgrade
php bin/magento setup:static-content:deploy
7. Refine the Styles
Apply CSS rules to ensure the new field matches your store's theme.
Conclusion
Customizing the Magento 2 checkout shipping address form is a powerful way to enhance your store’s checkout process. Whether you’re adding new fields, reordering existing ones, or integrating custom data with third-party systems, these adjustments improve usability, streamline data collection, and create a tailored shopping experience.
This personalizes the checkout form. In addition, legal and business requirements will be met, and the form's appearance can align with your store's branding. Again, these customizations not only reduce cart abandonment but also increase customer satisfaction and conversion rates. With the right approach, such as creating custom modules, adjusting layouts, and refining styles, you can rest assured that providing your customers with a seamless and engaging checkout experience will be in accordance with their needs and expectations.


Validate your login